Effective signalling is not about noise or desperation. It is about intentionally using the same principles rescuers rely on when they scan for abnormalities.
Last month, we explored why things are seen. We looked at thirteen different reasons something might stand out from its surroundings and draw our attention, rather than blending quietly into the background. That understanding changes how you observe the landscape. In a survival situation, however, it also changes how you signal for help and what gear you choose to carry. Movement, contrast, unusual shapes, sound, and shine all trigger the human detection system. Being rescued is the priority.
Let’s take a broad look at signalling first.
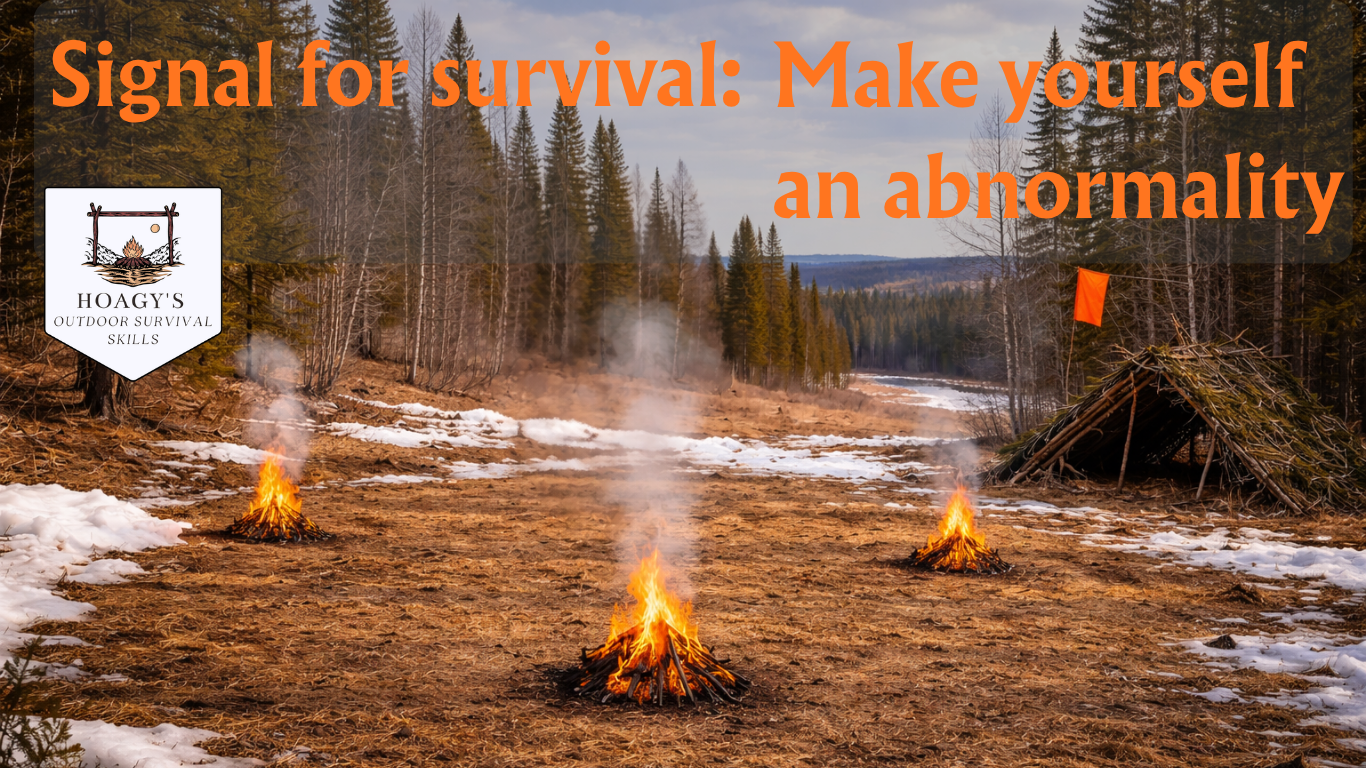
There are recognized international signals for rescue. Three fires set in a triangle pattern, placed at least 30 meters apart, three whistle blasts, and three flashes of light are a few examples. Notice a pattern here? Three repetitions of any signal indicate distress.
Remember the Morse code you may have learned as a kid for an S.O.S. distress call? Three short tones (S), three long tones (O), and three short tones (S). The international distress code is built directly into those letters. Narrowing our focus to Canada, there is little difference from these international methods, aside from the addition of modern technology. Devices like the Garmin InReach Mini 3 (approximately $650 CDN) allow for satellite communication and emergency signalling. However, with monthly plans starting around $11, this type of device may not be practical for someone who rarely leaves their local area.
signals work because they exploit the reasons things are seen
This brings us to personal preparedness and how we create signals when circumstances require it. The first and most important signal happens before you even leave. Whether you are driving past town limits, heading out on a trail, or going out for a day of foraging, leaving a trip plan with a responsible person is critical. Even if everything else fails, this ensures that help will be mobilized sooner rather than later, and that search efforts are focused.
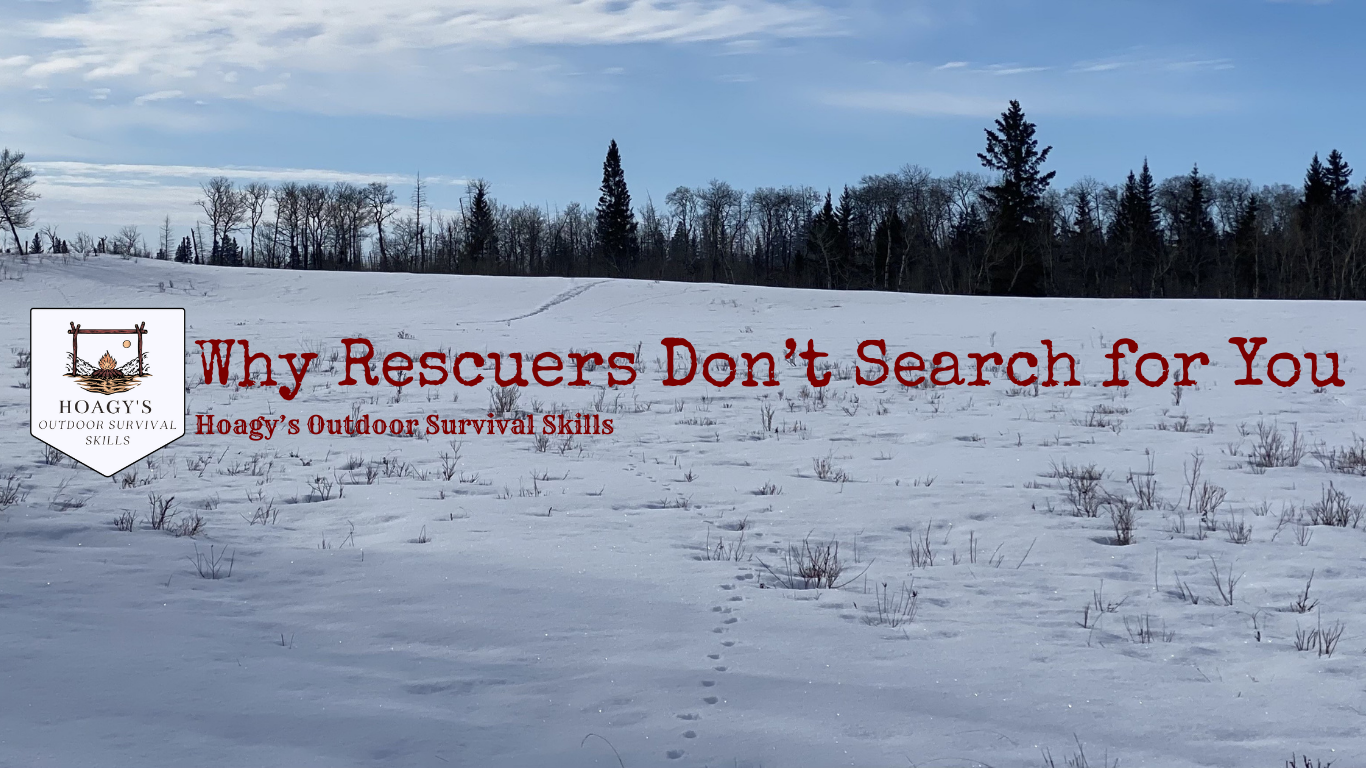
In last month’s article, Why Rescuers Don’t Search for You, we introduced thirteen reasons why things are seen. These can be grouped into two broad categories for signalling: passive and active (with some overlap).
Passive signals attract attention without continuous effort. In a survival situation, the goal is to be noticed while conserving energy and resources.
So what passive signalling options can we carry in a pack or vehicle?
A large piece of bright material used as a flag combines movement and colour. If tied to a small tree or sapling and raised higher, it also can take advantage of position. Flagging tape is another lightweight item that can achieve the same effect.
Consider a shelter made from natural materials. While it provides protection, it also blends into the environment. Searchers are looking for abnormalities. A bright flag or multiple strands of flagging tape hanging nearby invite the eye and break that natural pattern.
There are also passive signals that do not require gear. Setting up near a clearing or with access to higher ground helps separate your silhouette from the background. Large sticks, branches, or dead fall can be used to create signals such as an “X,” an arrow pointing to your location, “SOS,” or “HELP.” These require effort initially, but once built, they continue working without additional input.
At a minimum of three meters (ten feet) per symbol, the combination of shape, spacing, position, and scale makes these visible from aircraft or drones.
Speaking of drones, your body heat is also a passive signal. Thermal imaging detects temperature differences across the landscape. Stomping out shapes in snow can create contrast in both texture and temperature, making them visible to thermal devices, especially in areas with limited natural materials. Passive signals can also result from active efforts. Smoke from a fire is one example. The smell of smoke can travel long distances, even on a light breeze, and may alert rescuers downwind.
During the day, prioritize contrast, colour, and reflection. At night, prioritize light, fire, and sound
The second category, active signalling, requires ongoing input to maintain.
When selecting active signalling tools, consider durability and longevity. Some items are consumed during use, while others may fail due to damage from a fall or environmental conditions such as cold or water exposure.
For example, a small 39 g (1.4 oz) air horn may provide approximately 70 one-second blasts before it is depleted. A whistle, such as a Fox 40 Classic, will function as long as you have the ability to use it. It is not affected by punctures, has no limited shelf life, and is highly reliable.
Both tools rely on sound (noise) as an attractant, but one is significantly more sustainable.
Reflective items are another valuable addition. A compass mirror, signal mirror, or even a polished metal surface can create flashes (shine) that are highly visible when directed toward rescuers or aircraft. Fire is also a powerful active signal. There are many ways to start one, some requiring more skill than others. Once established, fire can provide multiple signals, including silhouette, shadow, texture (primarily through smoke), spacing, position (when set in a proper triangle formation), temperature, shine, and smell. This combination makes it one of the most versatile signalling tools available. As an active method, it requires ongoing effort, and resources must be gathered continually to maintain it.
Your goal is simple: be seen, be heard, and stay in one place
The key takeaway for any signalling method is to stay in the immediate area. If you continually change locations, your signals lose effectiveness. Searchers have a much harder time locating a moving subject. In a survival or rescue situation, give rescuers something they cannot ignore. Create an abnormality and be seen
As a final thought, consider your response if you encounter someone else signalling distress.
If you hear a distress signal, replying with two whistle blasts indicates that the signal has been received (three blasts indicate distress, two confirm acknowledgement). This can be followed by additional signals to help determine direction and location.
If you see a visual signal, your first step should be to contact emergency services, typically by cell phone if available. From there, your actions should be guided by your own safety and capability. You may choose to move toward the signal, or record your position using GPS, a digital map, or flagging tape, along with a bearing to the signal’s location. Providing this information to emergency personnel allows them to begin a more effective and targeted response. Accurate information can be just as valuable as direct action.
Effective signalling is not about doing more or reacting out of desperation. It is about understanding how rescuers detect abnormalities and using that knowledge with intention.
Whether you are using movement, contrasting textures, noise, or shine, the goal remains the same: give rescuers something they cannot ignore.
In every course taught through Hoagy’s Outdoor Survival Skills, whether it is firecraft, shelter, or basic navigation, we begin with a discussion on survival priorities, including signalling. These are not separate skills. They form the foundation that everything else builds on. If you are interested in developing practical, field-tested skills, I would welcome the opportunity to train with you.
Signal with confidence and change the outcome.